Do you want to enable Developer Options on your Android™ device and not sure where to start?
Are you worried you may end up harming your device?
Are you wondering whether it’s worth it?
Let me help you out!
Android is a beautiful example of open-source software. It is extremely developer-friendly and anyone with the required knowledge can get the source code from AOSP repositories and start modifying it. The possibilities are immense.
However, even if you’re not an Android developer, you can still tweak your device to great extents. The resources are available all over the web to help you out. We too at AndroidBlog.org are trying to build something similar for beginners.
Mobile manufacturers want to restrict you from accessing Developer Options. This is because the features available under it are for advanced users and tinkering with them in the wrong way can mess up your device.
This is why the Developer Options are always hidden by default on any Android device.
Having said that, it is rather easy to enable them.
Let’s go one by one.
Table of Contents
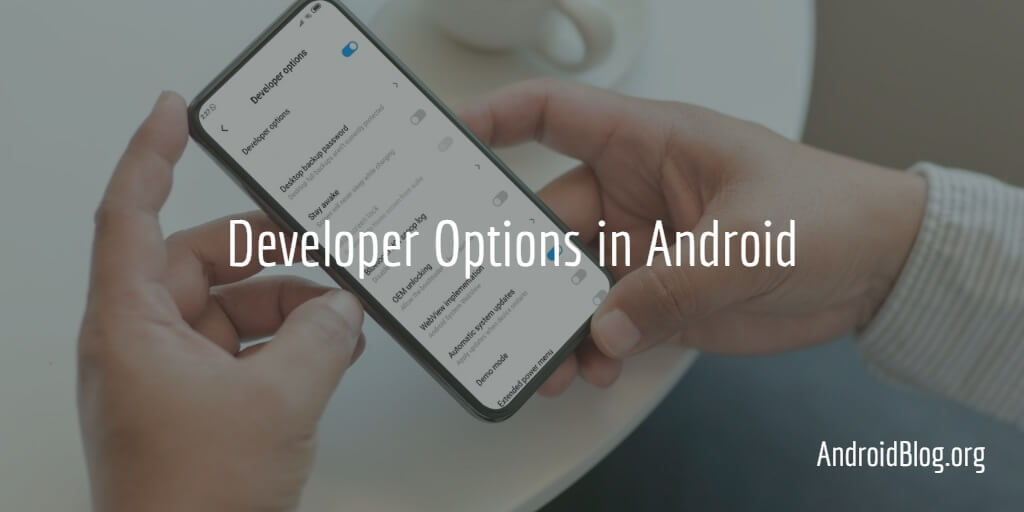
What is “Developer Options”?
Developer Options is a hidden menu in the Settings of Android devices. It consists of many useful features and tweaks that can enhance your Android experience further. A few of those are:
- USB Debugging
- Hardware Accelerated Rendering
- Advanced Networking Settings
- Advanced Audio Settings and more
How to enable Developer Options?
To turn on the Developer Options on your device, you have to look for the build number.
On most Android devices, you can find it at the below path:
Settings > About Phone > Build Number
On some devices, it may be found at the below path:
Settings > System > About Phone > Build Number
Note that the path may vary slightly across devices. On my Xiaomi device, it is Settings > My device > All specs > MIUI version.
Basically what you have to look for is the menu that contains your device-specific information such as Device Name, Android version, CPU, RAM, etc. The Build number should be somewhere around.
When you have found the Build Number, tap on it 7 times. After the first few taps, you will see a countdown pop-up that reads “You are now X steps away from being a developer” (this is meant to alert the user in case the taps were accidental). You’re doing it right then. On the 7th tap, you will see a message that says “You are now a developer!”.
That’s it. The Developer Options should now have got enabled and can be found at the below path:
Settings > System > Advanced > Developer Options
On some devices it could be: Settings > System > Developer Options
How to disable Developer Options?
Once you’re done with the debugging/tweaking in Developer Options, it is advisable to disable it unless you regularly tinker with those settings.
Disabling it is pretty straightforward. At the top of the Developer Options screen, you will find an on/off toggle for this.
Once you tap it off on the toggle and press the back button, you will notice that the Developer Options menu item has disappeared. Any subsequent re-enabling will need you to follow the steps above again.
Why should you enable Developer Options?
There are many benefits of enabling extra settings on Android. Let us look at a few.
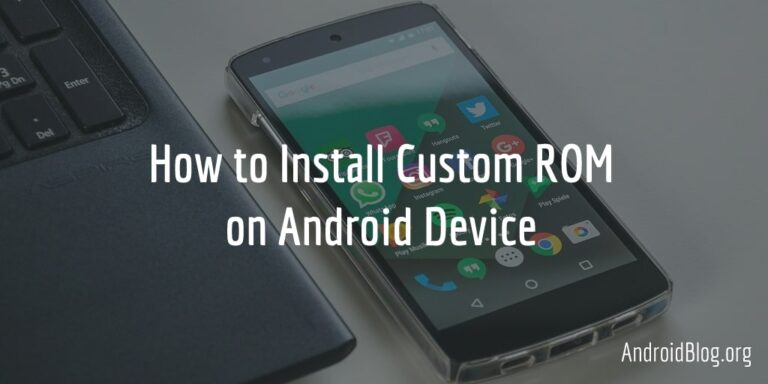
- Root Android and install Custom ROM: This is the biggest reason why most of the users need Developer Options. It allows them to Enable USB Debugging which lets the device communicate with the Android SDK over a USB cable. Using this feature, you can root your Android Device, unlock the Bootloader, install a Custom ROM and do many other interesting things.
- Enhance performance: Inside Developer Options, you can tinker with device animation settings or completely disable them to get better performance. Note that these are advanced settings. If all you want is a lag-free device rather than any extra performance boost, we recommend optimizing the device using a few chosen system cleaner apps for Android.
- Boost gaming performance: For enhancing your gaming experience, you can turn on advanced graphics processing features.
- Show CPU usage: Rather than installing third-party apps to check your CPU behaviour, you can turn on “Show CPU usage” in Developer Options. This shows you the CPU usage on your Android device as an overlay. But note that this somewhat intrusive, and we don’t recommend keeping this feature turned on all the time.
- View Running Services: If you’re experiencing slowness on your device, you can check the Running Services in Developer Options to find out the culprit apps consuming more memory. This will remind you of the Task Manager in Windows.
Is enabling Developer Options safe?
Yes, it is perfectly safe to enable the Developer Options on your Android device. As long as you haven’t modified any settings under it, everything will remain the same. But, there’s a good reason why they are hidden by default.
Firstly, most users would never need access to these extra features. As the name indicates, they are meant for developers and advanced users.
Tweaking the settings under Developer Options incorrectly can be dangerous for your device. Note that when we say dangerous, we mean it can negatively affect the normal behaviour and performance of the device. However, changing these settings usually doesn’t cause any security issue. There are a few exceptions, such as keeping USB Debugging enabled when your device is plugged in to an unfamiliar USB port such as a public charging station is not recommended. It can expose your data to someone having access to the charging station.
Who should enable Developer options?
Let me remind you, this is strictly not for beginners or casual users. I can’t stress enough how dangerous playing around with these settings can be for your device unless you know what you’re doing.
Google officially doesn’t recommend enabling the Developer Options or tweaking its settings unless you’re doing some development work.
If you’re an advanced user and are ready to troubleshoot if something goes wrong, you can play around with these settings.
Also, if you want to root your device and/or install a Custom ROM, enabling Developer Options is a mandatory step.
This brings us to the end of this article and I hope we learnt something new, or at least a part of it today.
Let me know your queries in the comments section below, and I shall try to answer them to the best of my knowledge.
Thank you for reading!